Microsoft Clip Art encompasses the illustrations, photos, and images provided with each Office program. You can use Clip Art in your PowerPoint presentations to illustrate your slides and make more of an impact on your audience. There is a wide variety of different Clip Art images you can use, in a variety of categories.
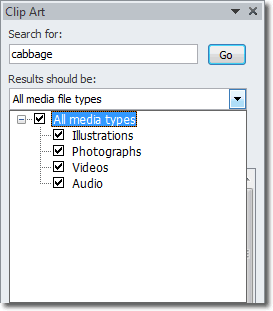
Let’s pretend we need a simple illustration of a cabbage for one of our slides. Open up the Clip Art window by going to the Insert tab and clicking Clip Art (in the Images group). In the search for box, type the word “cabbage” and then select what file types you’re interested in.

You can choose from illustration, photos, videos and audio. To get the biggest selection of media you could potentially use, make sure that All media types is selected. I would also check the Include Office.com content box, to give you the largest possible selection.
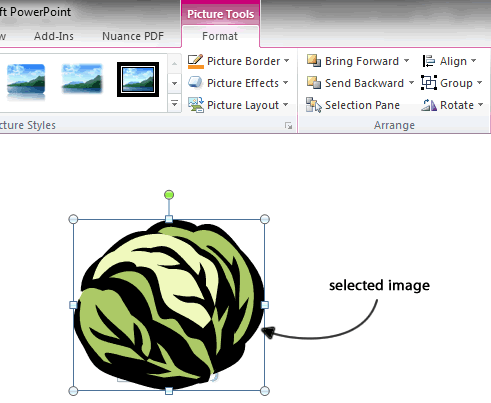
Click Go, and wait for PowerPoint to find images that match your selection. When you find one you like, make sure that the correct slide is selected and then click on the image. It will get inserted on your chosen slide. Because the image remains selected, the Picture Tools tab opens up:

Using the Picture Tools tab, you can manipulate your image and do such things as perform corrections on it, adjust its colour, compress it (to get file sizes down), and also add effects like snazzy borders, shadows and reflections.
Resizing Clip Art
As you can see in the screenshot above, various handles appear around the Clip Art image when it is selected. Dragging on the handles at the corners and along the sides will resize the image, but you can also rotate it by clicking on the top handle and then dragging left or right.
Now that you have your Clip Art inserted.

