There is a wide variety of shapes that you can add to your Microsoft PowerPoint 2010 presentation. You can either add shapes individually, or you can combine several shapes to make a more complex shape. Some examples of ready made shapes that you can add are lines, basic geometric shapes, arrows, equation shapes, flowchart shapes, stars, banners, and callouts.
You can add a shape to any part of a slide – it doesn’t have to be positioned in a placeholder text box.
How To Add A Shape In PowerPoint
Let’s add a shape now to our presentation. Click Home > Drawing, and then click one of the shapes buttons. To see the whole gallery of shapes, click on the more button (the down arrow at bottom right).
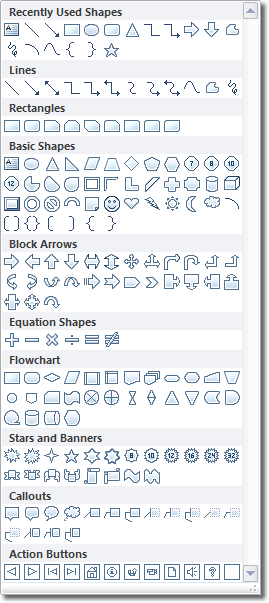
When the shape command is active, the cursor changes its shape to become a crosshair. Click and drag on the slide to draw the shape. Release the mouse when the shape is the size you need it.
When you release the mouse, you can tell that the shape is still selected by the visible bounding box and drag handles that are displayed around it. You can move the shape around the slide by pressing the arrow keys on your keyboard or by clicking and dragging on the bounding box. If you click and drag, make sure that the cursor is positioned precisely on a part of the bounding box that isn’t a drag handle (the cursor will change to a double headed arrow when it is).
To resize the shape, click and drag on one of the drag handles. There are handles at the corners of the bounding box, and also halfway along each edge. If you want to constrain the proportions of the shape when you resize it, hold the SHIFT key down while you drag.
Shape Effects In PowerPoint
While the shape is selected, you will see the Drawing Tools contextual tab displayed in the ribbon, with the Format tab within. Click on the Format tab to display some shape related commands. There are many shape effects that we can apply, so instead of listing them all, let’s work through an example.
Let’s add an arrow shape. You should see a right-pointing arrow in the shapes gallery, so click on that and drag out an arrow on your slide. With the arrow still selected, click on the Format tab in the ribbon. We’re going to apply a ready made shape style to the arrow so click on the more button at the bottom right of the Shape Styles gallery.
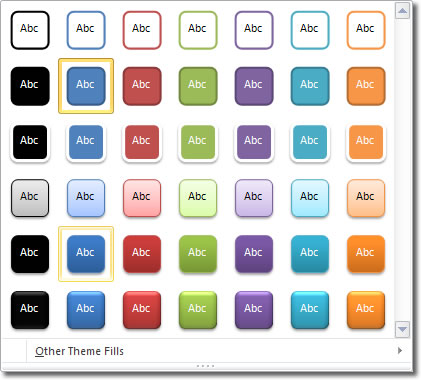
Hover over the thumbnail image of a style to see a live preview and then click on the one you want tio use. We can also type in words that appear in the shape as though it were a text box. I applied a style and wrote some text to get the following:

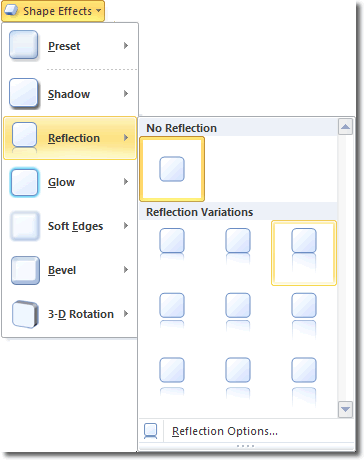
Let’s now add a reflection to the shape by staying on the Format tab and clicking Shape Styles > Shape Effects > Reflection, and selecting a reflection effect we like.
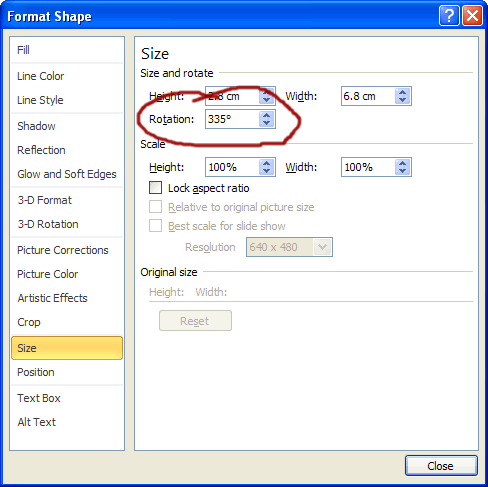
There are two ways that we can rotate a shape. The first and quickest way is to click and drag on the green rotation handle at the top of the shape’s bounding box. Drag left to rotate anticlockwise and right to rotate clockwise. Alternatively, if you want to specify a precise rotation, click the Rotate button in the Arrange group.
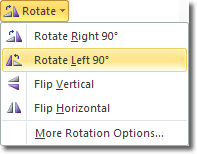
In addition to the preset rotations that you can use, like rotate 90 degrees left and right, you can also specify your own rotation by clicking on More Rotation Options. When the Format Shape window opens, we can specify the precise degree rotation we need by typing it into the Rotation input box or by clicking and holding on the up or down arrows to the right.
