If you’ve used PowerPoint’s Format Painter before, you’ll find the Animation Painter strangely familiar. The animation painter is new to PowerPoint 2010. It copies existing animations and “paints” them on new objects. This means that the time you spend constructing a complicated animation doesn’t need to be duplicated for each object you want to apply it to. You create the animation once, and with a couple of clicks you can copy that animation to new objects.
When you apply an animation to an object, there are a variety of settings and adjustments to help you fine-tune it for a more polished effect. Being able to copy all those features can be a real timesaver.
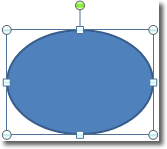
Instead of rambling on about this new feature, let’s just use it in an example. Draw out an ellipse by clicking Insert > Illustrations > Shapes > Oval. OK, it’s an oval not an ellipse! Click and drag on the slide to drag out your oval.

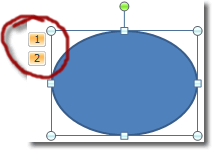
Let’s add an animation to the oval by clicking Animations > Animation (More button) > Bounce. Let’s add a second animation: select the oval again and this time click the Add Animation button (in the Advanced Animation group) > Spin. We now have both the Bounce and Spin animations added to the oval, and they’ll play in that order. If you’d simply selected a different animation from the gallery instead of using the Add Animation button, the new animation would have replaced the old one, instead of being added. You can tell that there are two animations present because of the telltale symbols displayed next to the oval:

We can preview the animations by clicking on the Preview button in the Preview group. We’ll now alter the timings of these animations. Select the Bounce animation (the first one) by clicking the 1 in the image above. In the Timing group in the ribbon, change the Duration from 2.00 to 1.00. That’ll speed things up! Click the Preview button to see how fast it is now.
Currently, both animations are triggered by the presenter clicking the left mouse button. This is fine for the first animation, but let’s change the second animation to start when the first one finishes. That will make the animations look smoother. Click the Animation Pane button in the Advanced Animation group.

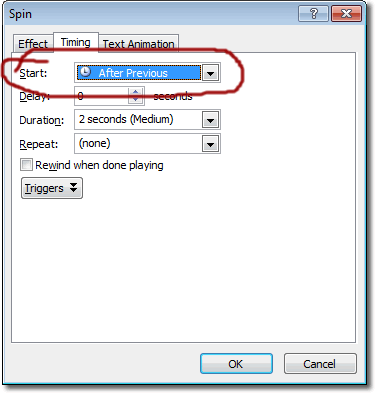
In the animation pane, double click the second animation. That’s the Spin animation. In the window that opens click on the Timing tab and change the Start drop down selection to be After Previous. That means that the second animation will start after the first one finishes. Click OK to close the window.

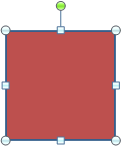
It’s only now that you decide to add a square to your slide, like so:

It would be a pain to have to manually add the same animations and options to this new shape. Fortunately, we can just copy them from the oval. Select the oval and then click the Animation Painter button in the Advanced Animation group. Now click on the square you drew. You should see a preview of the two animations: a quick bounce followed by a spin.

