In the past, shape manipulation has had to be performed in graphics packages like Adobe Illustrator, Photoshop or Fireworks. You would create an image and then insert it into your PowerPoint presentation. However, PowerPoint 2010 introduces some useful shape manipulation tools that allow us to perform tasks that designers should find familiar, such as:
- union
- intersect
- combine
- subtract
These PowerPoint shape commands are not shown by default on the ribbon. We’ll have to first customise the ribbon to take advantage of them. Click the File tab, and then click Options > Customise Ribbon. Let’s create a brand new tab in which to put the shape commands. Typically, we’ll want to insert a shape first and then manipulate it, so we’ll put the new shape manipulation tab after the Insert tab. Click the Insert tab to select it in the list on the right.
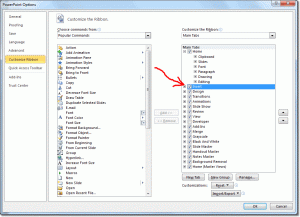
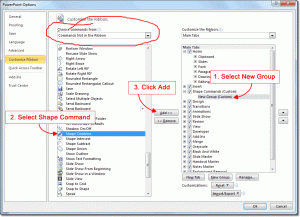
Now, click New Tab at the bottom. Use the Rename button at the bottom to rename it to something like Shape Commands. We’re going to add commands that aren’t already present in the ribbon to the new Shape Commands tab, so change the Choose commands from selector above the list on the left to be Commands not in the Ribbon. Select any item in the list and press “s” on the keyboard to position the list closer to the shape commands. You should see:
- Shape Combine
- Shape Intersect
- Shape Subtract
- Shape Union
These are precisely the commands we need. Make sure that New Group (Custom) is selected on the right before selecting a command on the left and adding it.
Click OK and you should see the new Shape Commands tab appear after the Insert tab in the ribbon. We’re now ready to create some funky shapes!
Shape Manipulation In PowerPoint
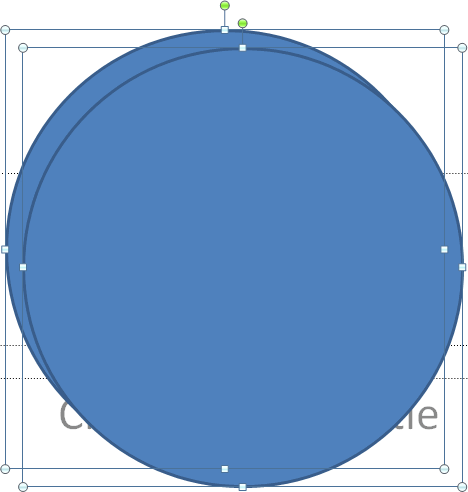
Let’s get familiar with these shape tools by following a simple example: creating a crescent shape. This is a silly example as there is already a crescent shape available in PowerPoint (Insert > Shapes > Moon), but it will serve to illustrate how the shape commands work. Draw out two circles by selecting the Oval tool (Insert > Shapes > Oval), and dragging on a slide whilst holding down the Shift key (this constrains proportions). Copy and paste the first circle (Ctrl-c, Ctrl-v), select both and you should end up with something like this:
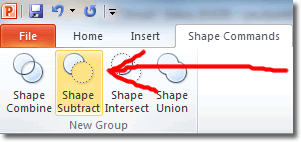
With both circles selected, go to the new Shape Command tab and click Shape Subtract
One shape cuts away its outline out from the other, leaving something like this:
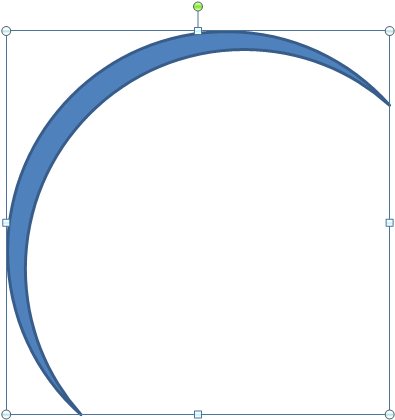
The order that the shapes appear on the slide determines which one does the cutting. You can change the order by selecting one of the shapes and then by clicking either Bring Forward or Send Backward (on the Format tab that appears when a shape is selected).
It’s worth experimenting with the different shape commands in PowerPoint to discover what kind of crazy shapes you can create!

