
In Microsoft PowerPoint, we now have a great deal of control over the way our embedded videos look. Adding videos to our presentations enables us to captivate our audience, but with the new video editing tools and effects in PowerPoint 2010 we can firmly glue them to their chairs. In this tutorial, we’re going to walk through some of the options available to us.
First of all, embed a video in your presentation and make sure that it is selected. Whenever you select a video, the Video Tools contextual tab is displayed in the ribbon, showing the Format and Edit tabs within.
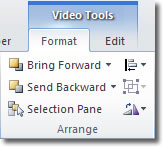
We’re going to look at the video formatting tools here, so click the Format tab within the Video Tools tab.
Formatting Video In PowerPoint 2010
You should now see all the video formatting tools that PowerPoint has to offer:

Let’s look at the tools from left to right.
Play/Pause

Clicking the play button starts playback of the embedded video whilst you are still in editing mode. This means that you don’t need to start the slideshow itself to view the video. Whilst the video is playing, the pause button replaces the play button.
Brightness/Contrast
Clicking on either of these buttons allows you to change the brightness and contrast by increments. Live previews of how the video would look for each option are available.
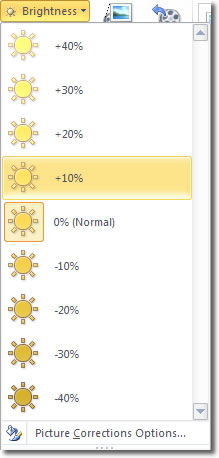
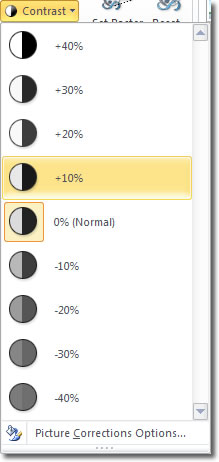
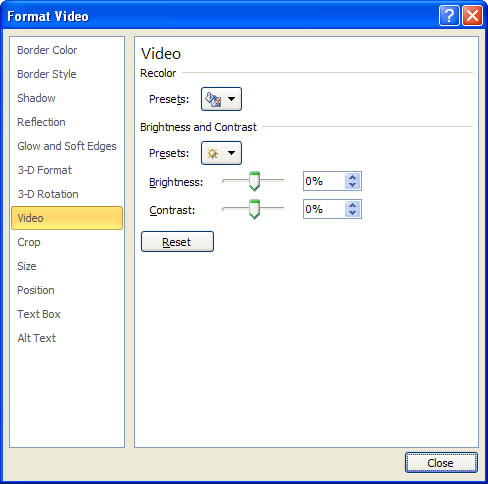
At the bottom of both windows is the Picture Corrections Options button. Clicking on it displays the Format Video window which opens up a whole host of video formatting options. The options in the Video category are displayed, and they give more control over the brightness and contrast of the video.
Recolor
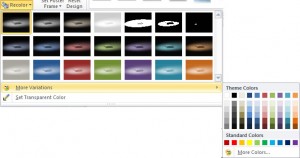
The Recolor button provides a way for you to change the hue of your video, or in plain English, it allows you to apply a coloured tint to it. If there aren’t enough colours there for you to choose from, clicking on More Variations will display a selection of theme colours for you to choose from.
Set Poster Frame
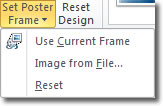
You can select an image to display as the “poster” for your video using the Set Poster Frame button. The poster frame appears before the first frame of the video and can be a frame you select from the video itself, or it can be any image you have saved on your hard drive. To select a frame from the video, start playback of the video and then when you see the frame you want, click the Set Poster Frame button (the top half). When you run your presentation, this frame will be seen first, before you play the video. If instead you’d like a picture on your hard drive to represent your video, click the bottom half of the Set Poster Frame button > Image From File, and navigate to where your image is. Select it and click Insert.
To remove a poster frame, click Set Poster Frame (bottom half) > Reset.
Reset Design
 To discard all formatting changes you have made to the selected video, click this button.
Video Styles

The Video Styles commands give you a way to quickly apply stylish effects to your video, without having to spend ages tweaking your settings. A small selection is displayed in the ribbon, but if you want to see the whole collection of Video Styles, click on the dialogue launcher in the bottom right of the group.
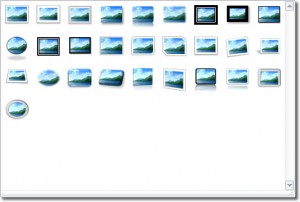
Video Styles can change the border around the video, apply a reflection, give a 3D perspective and apply many more effects.
Video Shape
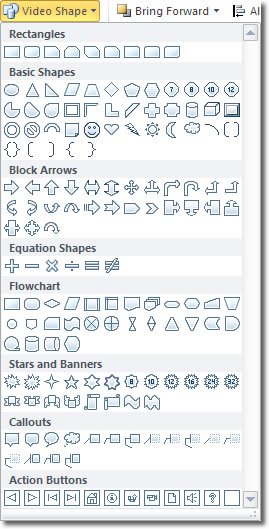
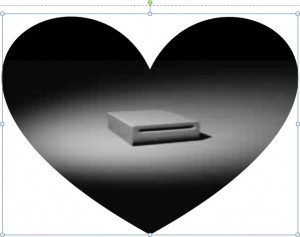
Video Shape is a funky little button that allows you to change the shape of your video. Here, I’ve applied a heart shape to my embedded video. Crazy.
Video Border
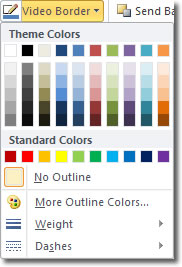
The Video Border button allows you to change the colour, weight and style (dashes or dots) of the border around your video. The interesting thing here is that the border actually follows the shape of the video. This means that if you applied a heart shape to your video, as I did above, the border is applied to the heart shape.
Video Effects
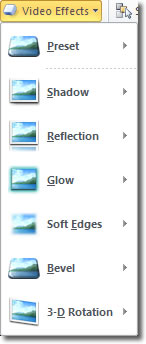
Video Effects are perhaps the most impressive of PowerPoint 2010's new features. Using Video Effects, you can give your video a shadow, glow, reflection, soft edges and bevels and can even give a 3D perspective to your video. The effects are cumulative, too, enabling you to bevel your video, give it a 3D perspective and then apply a reflection to it. It might look gross, but you can do it!
Bring Forward/Send Backward

The Bring Forward and Send Backward buttons do similar things but in opposite directions. If you have two videos embedded in your presentation and one overlaps the other, you can arrange the order in which they appear by using these commands. For example, selecting the top video and clicking Send Backwards puts the top video underneath the bottom one. You can reverse the position again by clicking Bring Forward.
If you have several videos, clicking on the down arrow to the right of each button may be a good idea as that will display additional arranging options such as Bring to Front and Send to Back.
Selection Pane

To make selecting videos easier when you have many on a particular slide, you can use the Selection Pane. When you click on this button, the Selection Pane appears to the right of the workspace and lists all the shapes on the current slide. These shapes could be slide titles, SmartArt, videos or any other object you have inserted onto the slide.
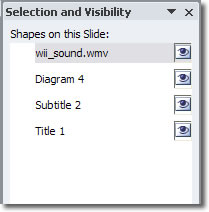
The Selection Pane controls both selection and visibility of shapes on the current slide. You can select an object by clicking on it in the panel and to hide it you can click on the eyeball icon to the right. The eyeball is a simple toggle, so clicking on it again will redisplay the object. You can also rename an object here by first selecting it and then clicking on it once. Type in the new name and then press Enter to save your changes.
The buttons at the bottom help you reorder the shapes on a slide. Select a shape and then click the up or down button to move the shape up or down respectively.

You can also show or hide all the objects on the slide too.
Align

The align button allows you to align your videos horizontally (left, middle and right) and also vertically (top, middle and bottom). You can align them either relative to the slide, or relative to each other depending on which option you have selected (also from the same flyout menu). If you have several objects on your slide, you can select them all and then choose to Distribute Horizontally or Vertically. This spaces out all the objects equally in either the horizontal or vertical direction.
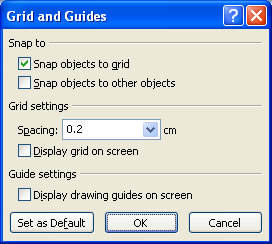
To make positioning your video more accurate, you can display gridlines. This is a toggle so if you select Gridlines from the menu again, they will disappear. If you select the Grid Settings option, you can control PowerPoint’s behaviour with regard to snapping an object to other objects or the gridlines. Using this window, you can also alter how the gridlines are displayed.
Rotate

The Rotate button does exactly what you would hope it does: rotate your video clockwise and anticlockwise by varying degrees. You can select standard rotations like 90 and 180 degree in both directions and you can also define your own specific rotation by selecting More Rotation Options. Selecting this option displays the Format Picture window with the Size category selected, in which you can amend the dimensions (width and height) of a video and also its rotation in degrees.
Crop

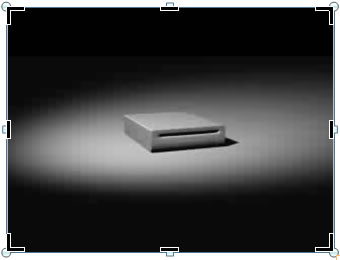
The crop button allows you to trim excess waste off an image. For example if the subject of your video is surrounded by a large area of background, you may want to crop the video so that the subject dominates it. The crop tool toggles on and off by clicking the Crop button, and when active, crop handles appear on the video’s border. You can drag these to indicate where the image should be cropped. Note that when you crop, you are not resizing the image, you are actually cutting away areas that you don’t want.
Height And Width

The Height and Width input boxes allow you to change those dimensions of the video by typing numbers into them. You can also change those values by increments by clicking on the up and down arrows to the right.

