Remember To Install Pre-Requisite (For Windows XP)
Before you start the installation (fro windows XP), you’ll need to install the .Net 3.5 Framework. This comes pre-installed on Windows 2008 R2 Server, but for earlier versions of Windows, you’ll need to install it first. This is a straightforward pre-requisite and is usually included as part of the SQL Server 2008 installation.
Once this Framework in installed you can commence the installation of SQL Server 2008 R2.
Note: - Above Pre-Requisite is not need in Windows 7 and higher version.
STEP 1: Copy the installation files
First of All recommend you copy the entire directory structure from the SQL Server 2008 R2 installation disc to the computer disk drive of the machine where you are going to install it on.
This has three advantages:
It makes the installation process much faster than running it from CD/DVD once it gets started.
It allows you to easily add or remove components later, without having to hunt around for the CD/DVD.
If your media is damaged and a file won’t copy, you get to find out now, rather than halfway through the installation.
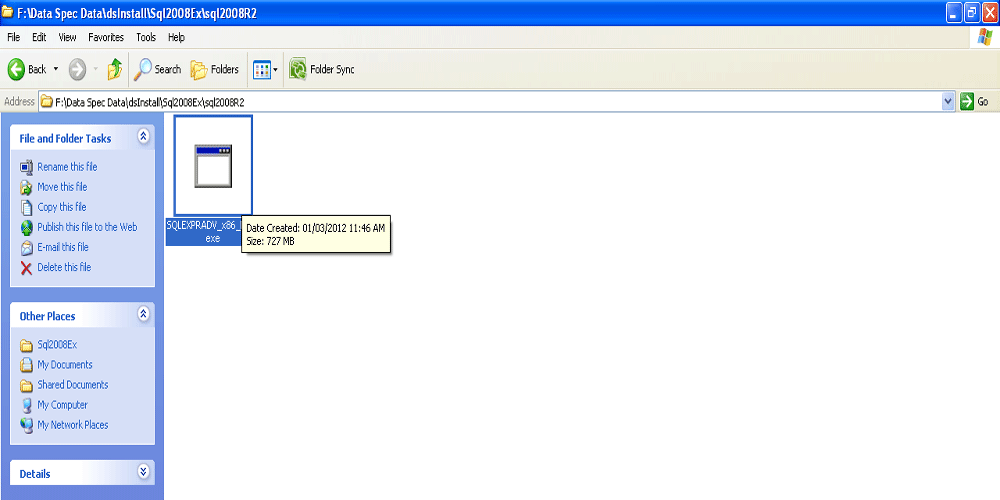
Here’s what my system looks like after the copy:
STEP 2: SQLEXPRADV_x86_ENU.exe
Double click on the SQLEXPRADV_x86_ENU.exe file.
After a few seconds a dialog box appears:
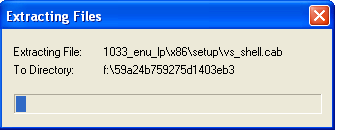

This will disappear from the screen and then the main installation page appears.
STEP 3: SQL Server Installation Center
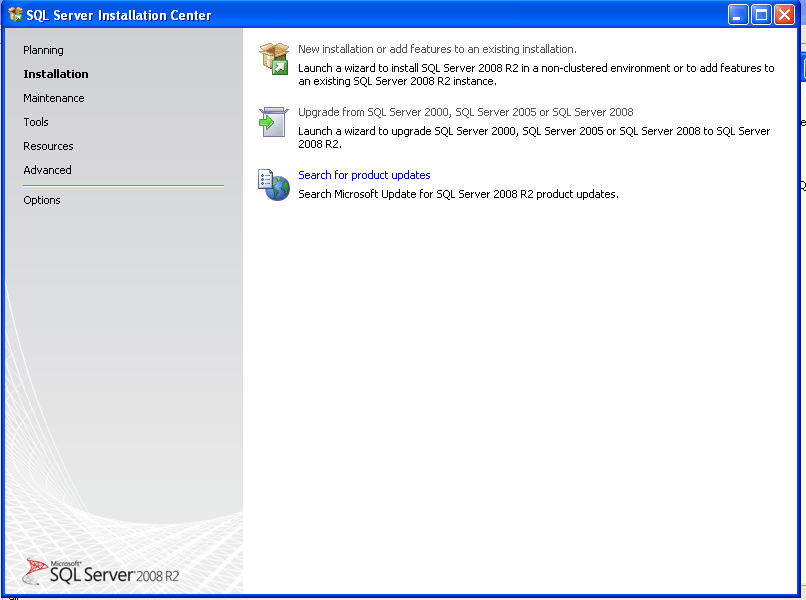
Click on the "New installation or add features to an existing installation." link on the right side of the screen:
The following dialog appears on the screen whilst the install program prepares for installation:

After a minute, the following screen appears:
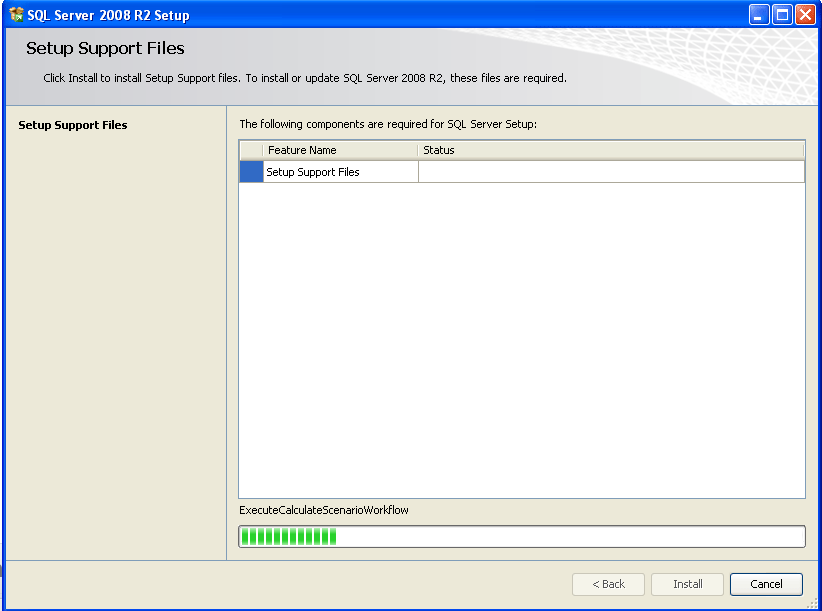
STEP 4 (optional):
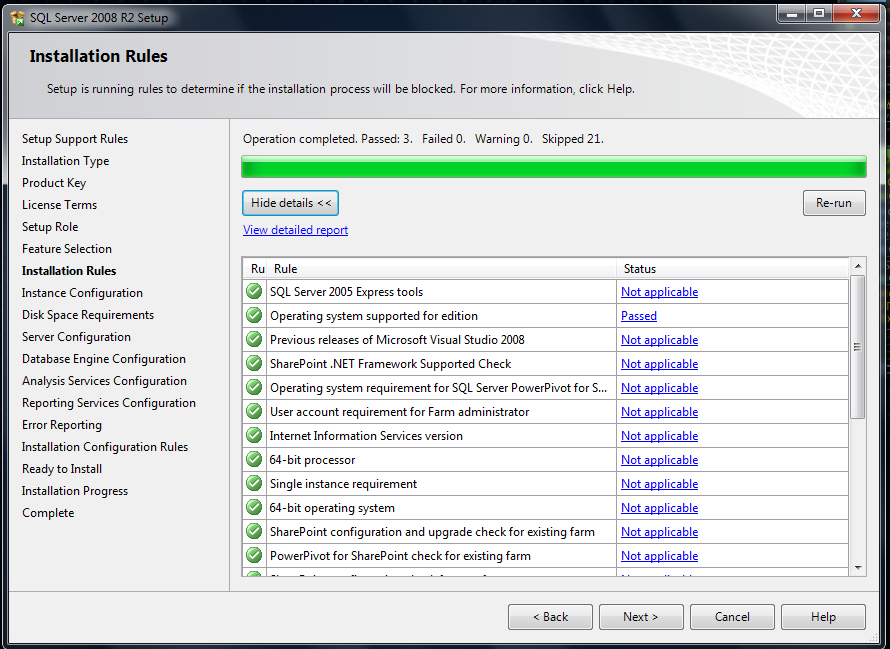
If any checks have failed, click on the Show details button or "View detailed report link" to find out the cause, correct it, then click on the Re-run button to perform the checks again, otherwise click on Install button.
STEP 5: License Terms
Enter the product key into the box, or choose the free edition if you're evaluating SQL Server 2008 R2, and click on the Next button.
Click in the "I accept the license terms"check box, and then click on the Next button.
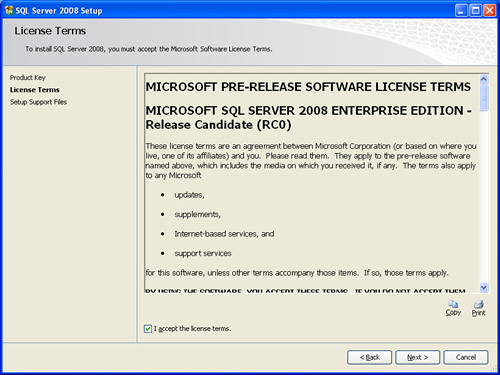
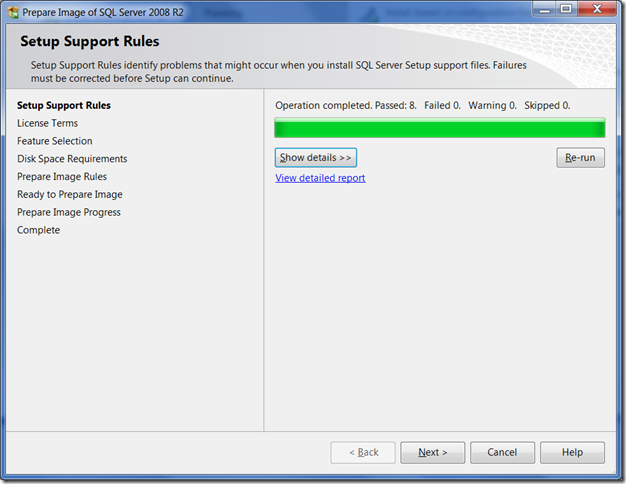
STEP 6: Setup Support Rule
The following screen appears. Click on the Next button:
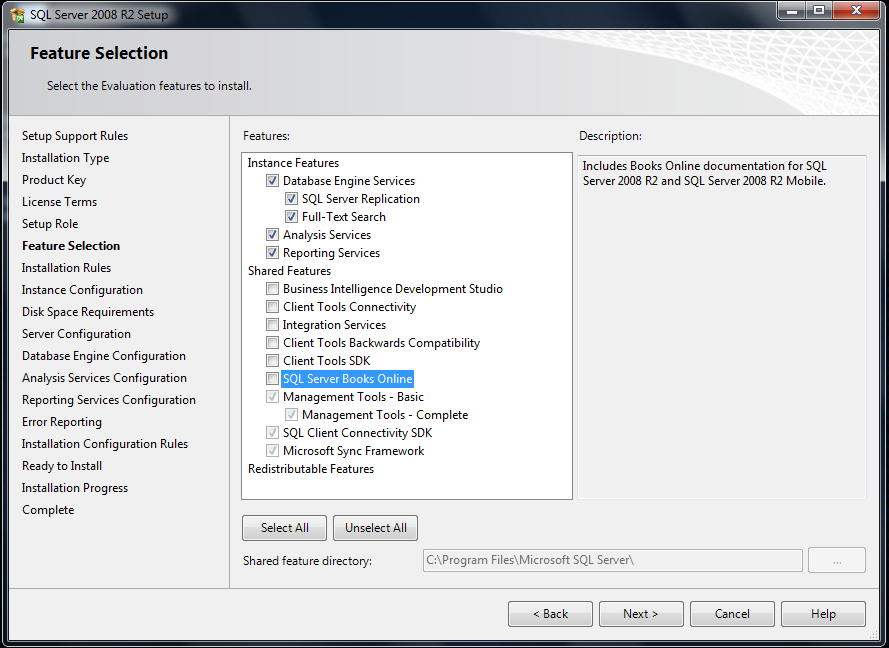
STEP 7: Feature Selection
Select the features you want to install.
At a minimum, the following are useful, but what you need will depend on your needs.
You can select any features you like while installing as for I am only selected few features to show you basic steps.
STEP 8: Instance Configuration
After a short process the following screen appears:
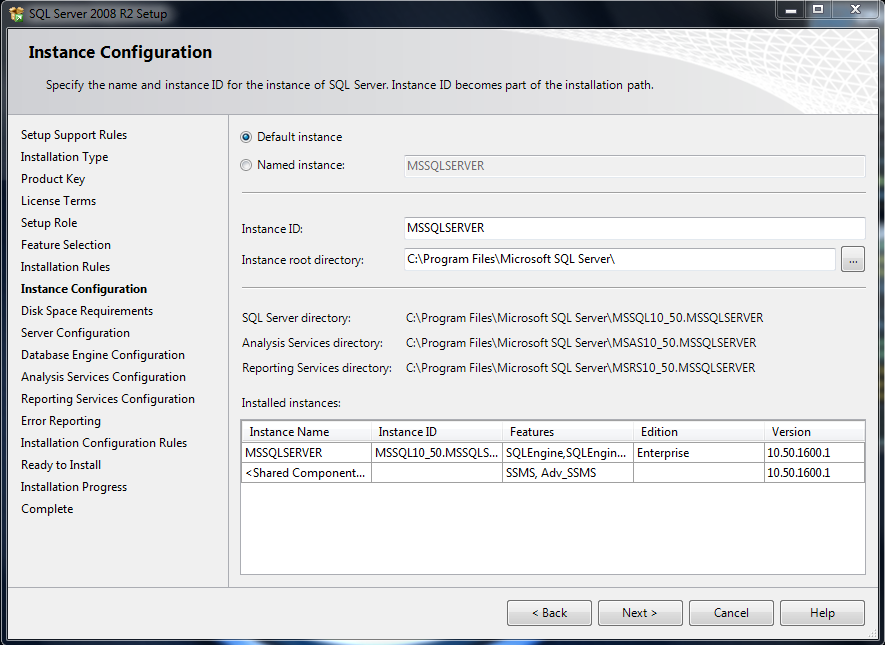
For most installations, keep the default settings.
Click on the Next button.
STEP 9: Disk Space Requirements
This screen just tells you if you have sufficient disk space on the drive you’re installing to, and what’s going to be installed where.
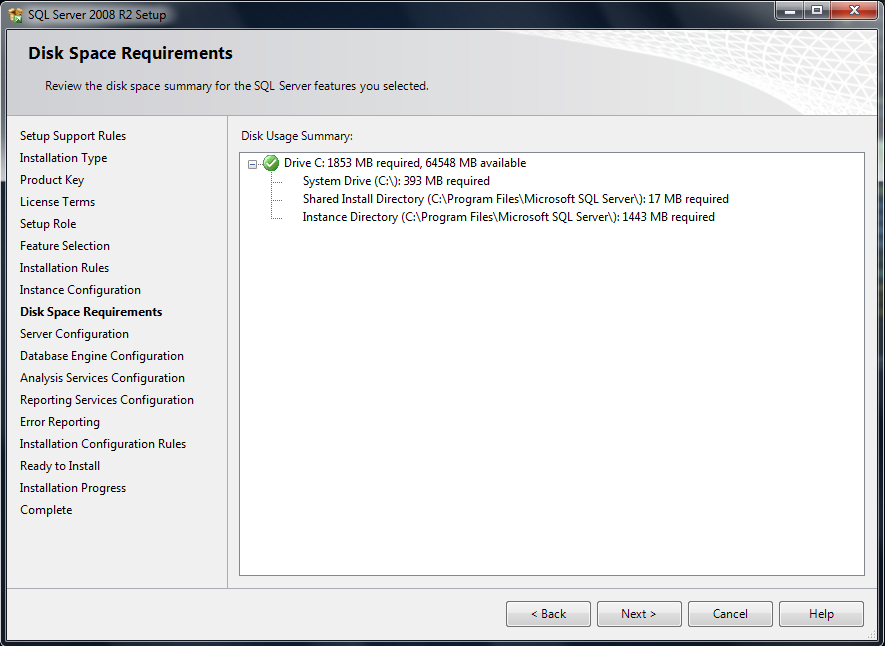
Click on Next.
STEP 10: The next step is the Database Engine Configuration.
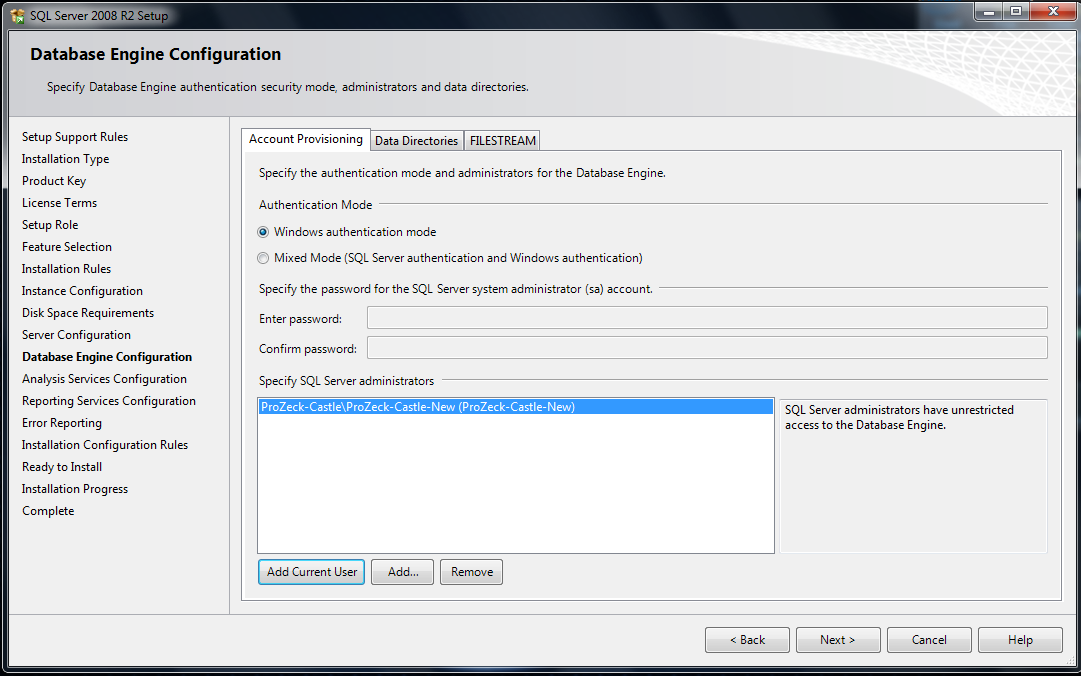
This step involves setting up the authentication mode and the SA (Server Administrator) account of the instance of SQL Server.
- Select Windows Authentication mode.
- Click Add Current User if you are currently logged in as an account you want to
have SA privileges.
- Click Next.
STEP 11: Analysis Services Configuration is the next step
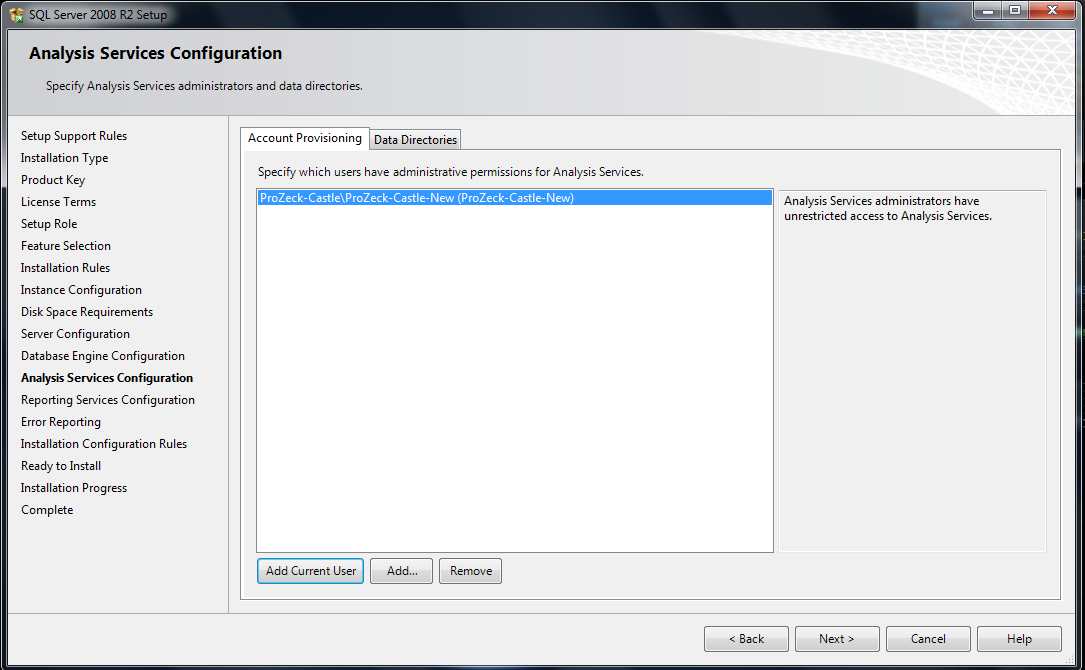
This step is used to setup the administrators for Analysis Services.
- Add all the users you wish to define with such a role.
- Click Add Current User if the currently logged in user should be granted such permissions.
- Click Next.
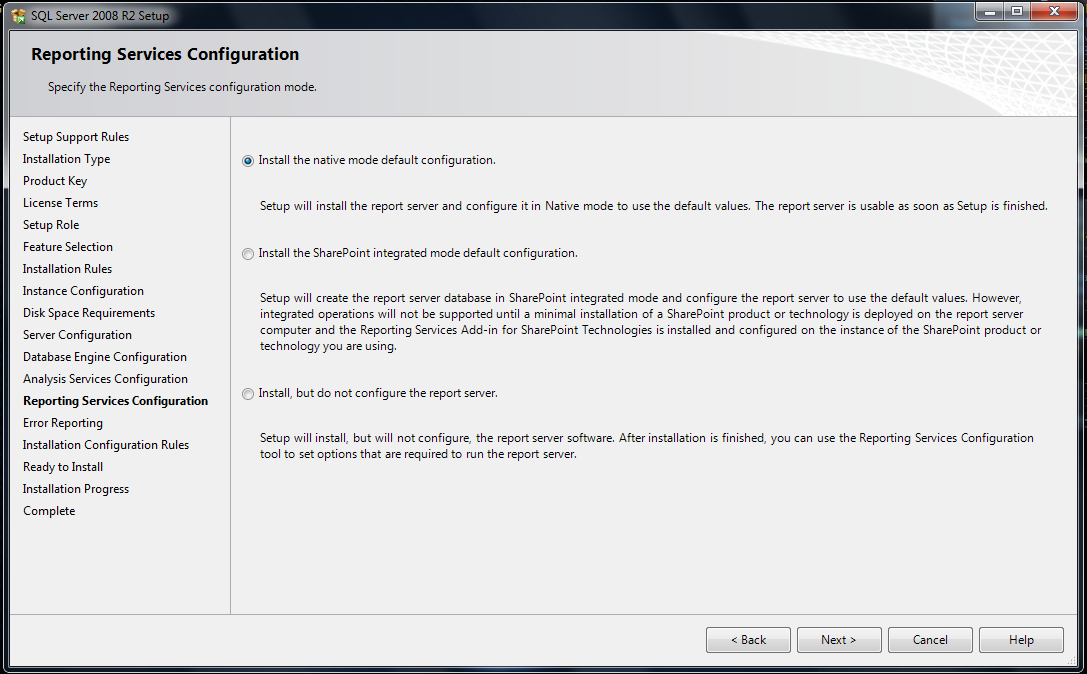
STEP 12: Report Services Configuration is the last of the service configuration steps.
-
Select the top option “Install the native mode default configuration”
- Click Next.
- If you would like to supply error reports to Microsoft check the box.
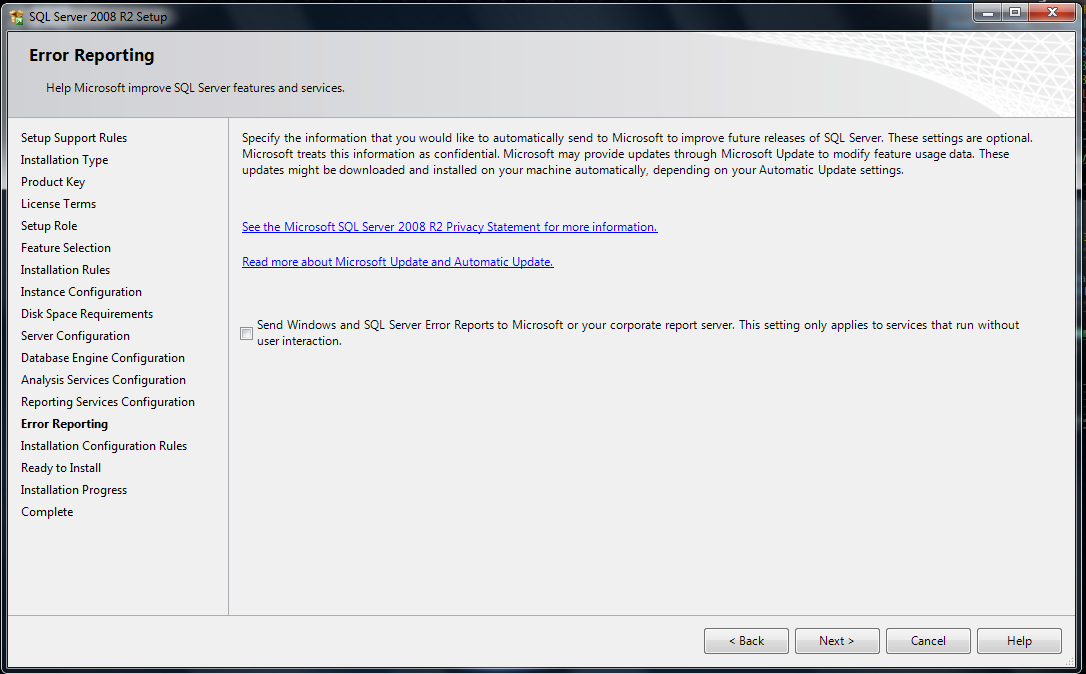
- Click Next.
STEP 13: Ready to Install.
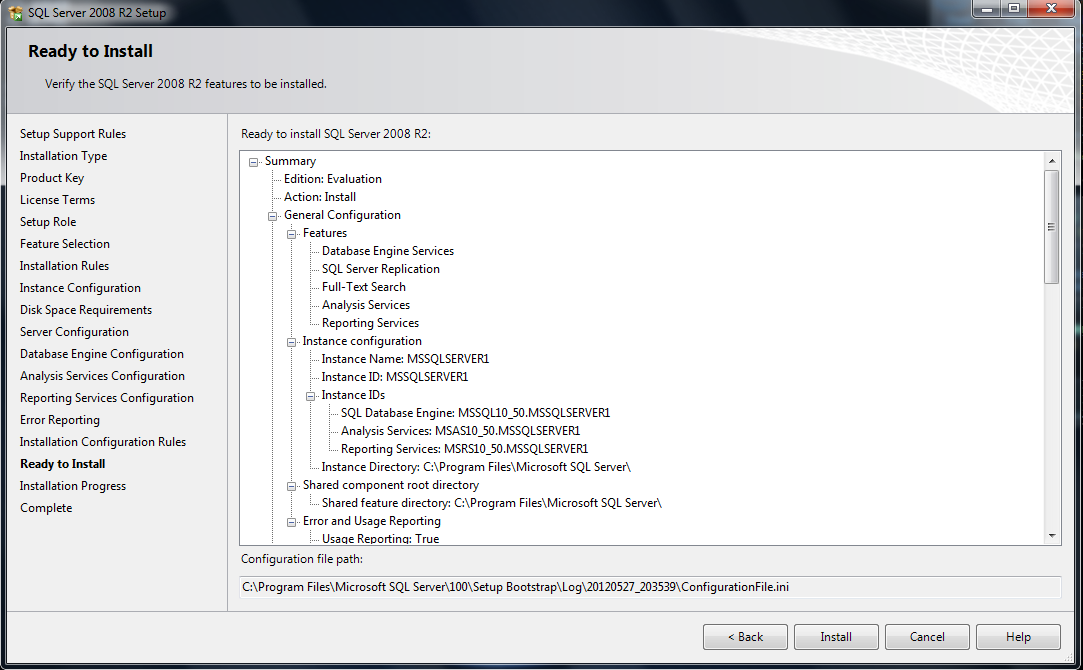
Click on Install button
STEP 14: Completion
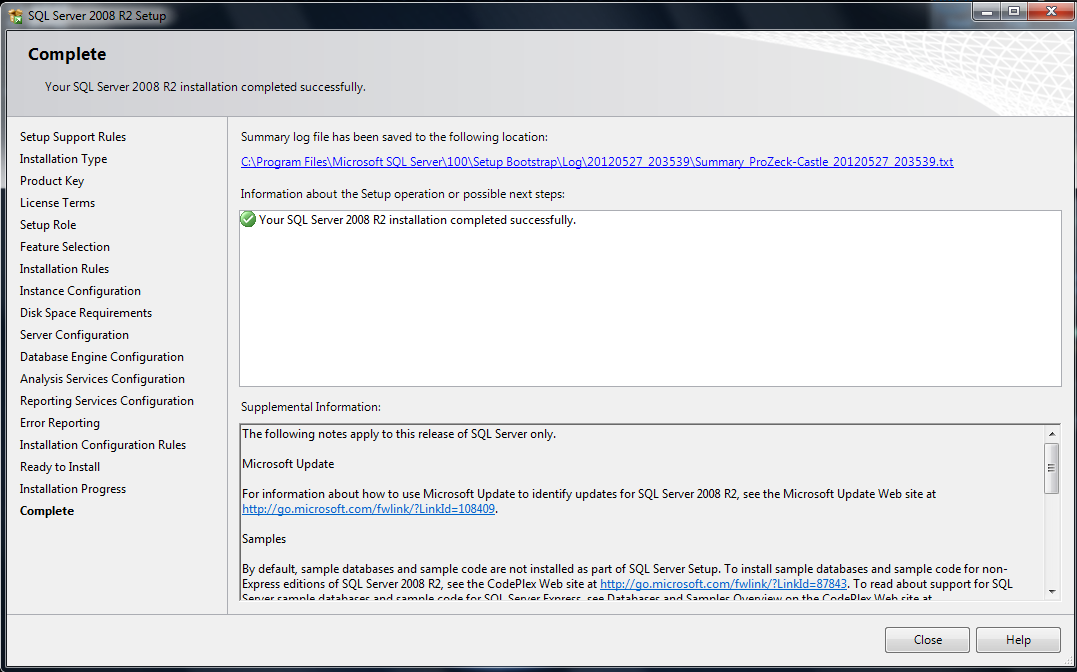
After some process your installation is complete.
Close all open windows related SQL server.
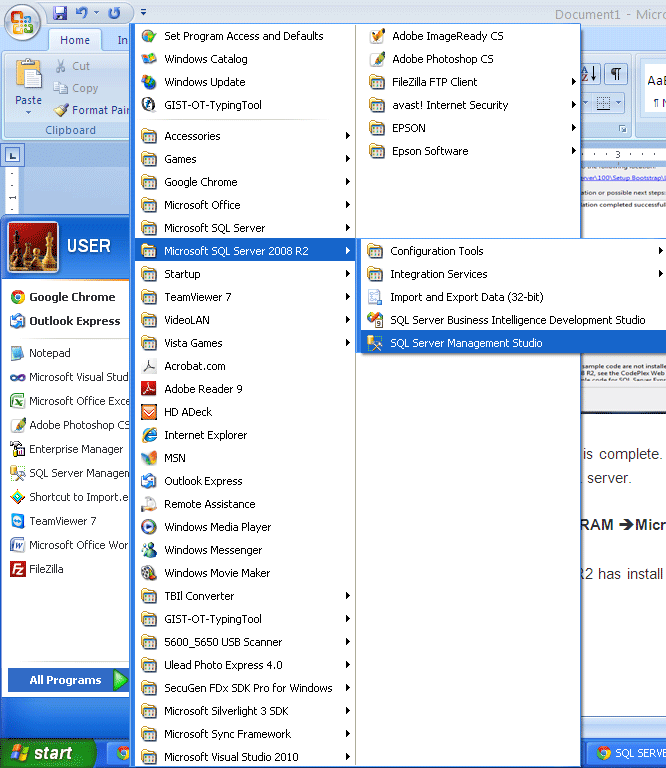
Go to option START==> ALL PROGRAM ==> Microsoft SQL server 2008 R2 ==> SQL server management studio.
This means your SQL server 2008 R2 has install successfully.
